
Welcome to the world of cannabis cultivation, where lighting is more than just flicking a switch—it’s a key to unlocking your plants’ full potential. I’m John “Magic” Greenleaf, and with over 30 years of growing greatness in the Colorado Rockies, I’ve learned a thing or two about making the altitude work for us—and so does our weed.
Understanding Light Schedules
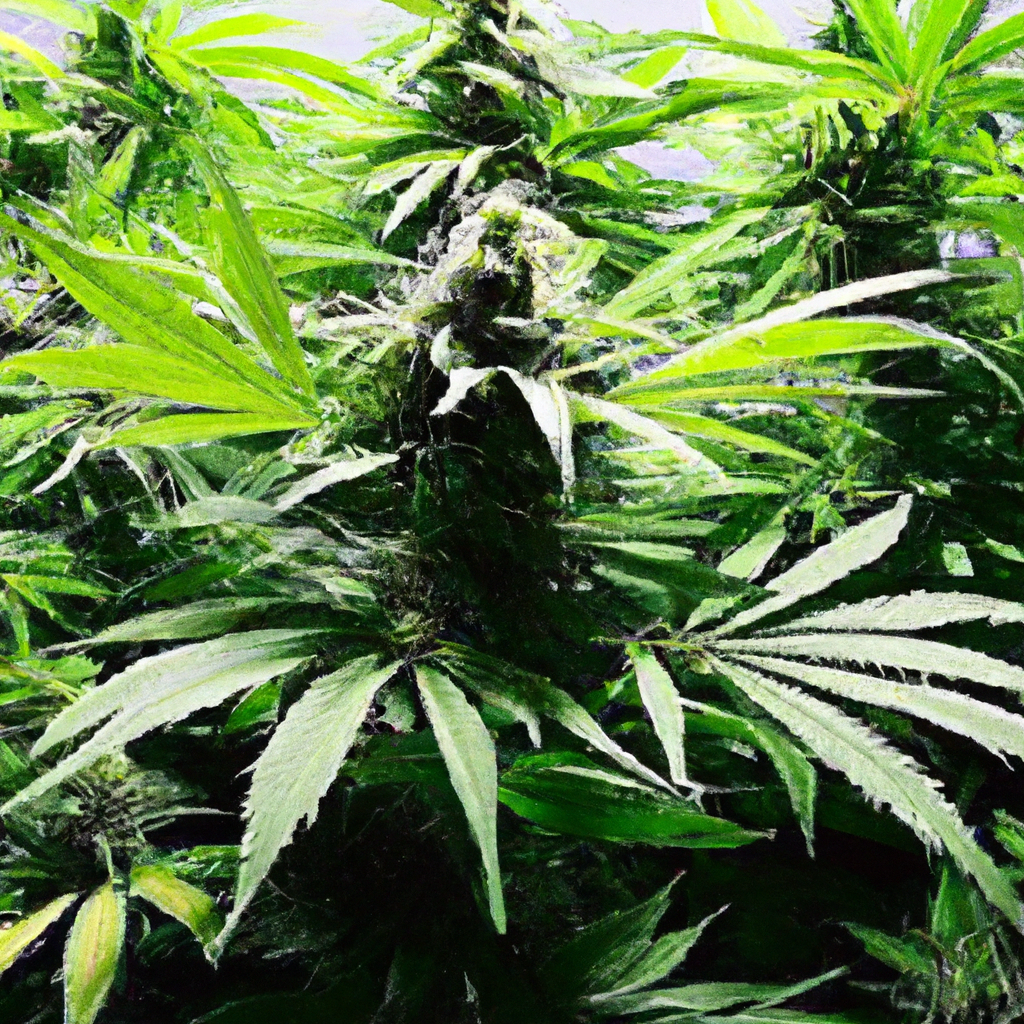
When it comes to cultivating cannabis, the light schedule is fundamental. Cannabis is a photoperiodic plant, meaning it relies on changes in light duration to signal different growth stages. Proper light schedules can make the difference between a bountiful harvest and a disappointing yield.
Lifecycle Light Schedule Guide
Vegetative Stage: 18/6
The vegetative stage is where your plants bulk up before setting flowers. An 18-hour light and 6-hour dark cycle encourages robust growth, mimicking the long days of summer.
Flowering Stage: 12/12
Initiate the flowering stage by switching to a 12-hour light and 12-hour dark cycle. This mimics the natural transition to shorter days, triggering the flowering hormones in your plants.
Troubleshooting Light Issues
- Light Leakage: Ensure your grow room is completely dark during the dark period to prevent stress and hermaphroditism.
- Light Intensity: Monitor plant response and assess if your lights need to be adjusted in height or intensity, especially with LEDs.
- Emergency Adjustments: In a pinch, cannabis can handle a single 24-hour dark period—but avoid making it a habit.
Advanced Lighting Techniques
For those looking to push their grow to the next level, consider implementing advanced lighting techniques like:
- Supplemental UV-B Lighting: Promotes resin production in mimicking high-altitude UV exposure.
- Light-Dimming Schedules: Gradually lower light intensity towards the end of the flowering stage, simulating natural autumn conditions for advanced terpene development.
Tags: Environmental Control, High-Yield Optimization, Sustainable Cultivation
Leave a Reply